DIY Vision Board Ideas
Handmade boards from things you probably already have. Each one takes an afternoon and looks lovely on a wall.
Good DIY vision board ideas include a cork board with pins, a picture frame with the glass removed, a clipboard board, photos hung on string with pegs, a shoebox board, a fabric-covered board, a magnetic board and prints clipped to a wooden hanger. Choose one that suits your wall, then add a goal and a date under each image.
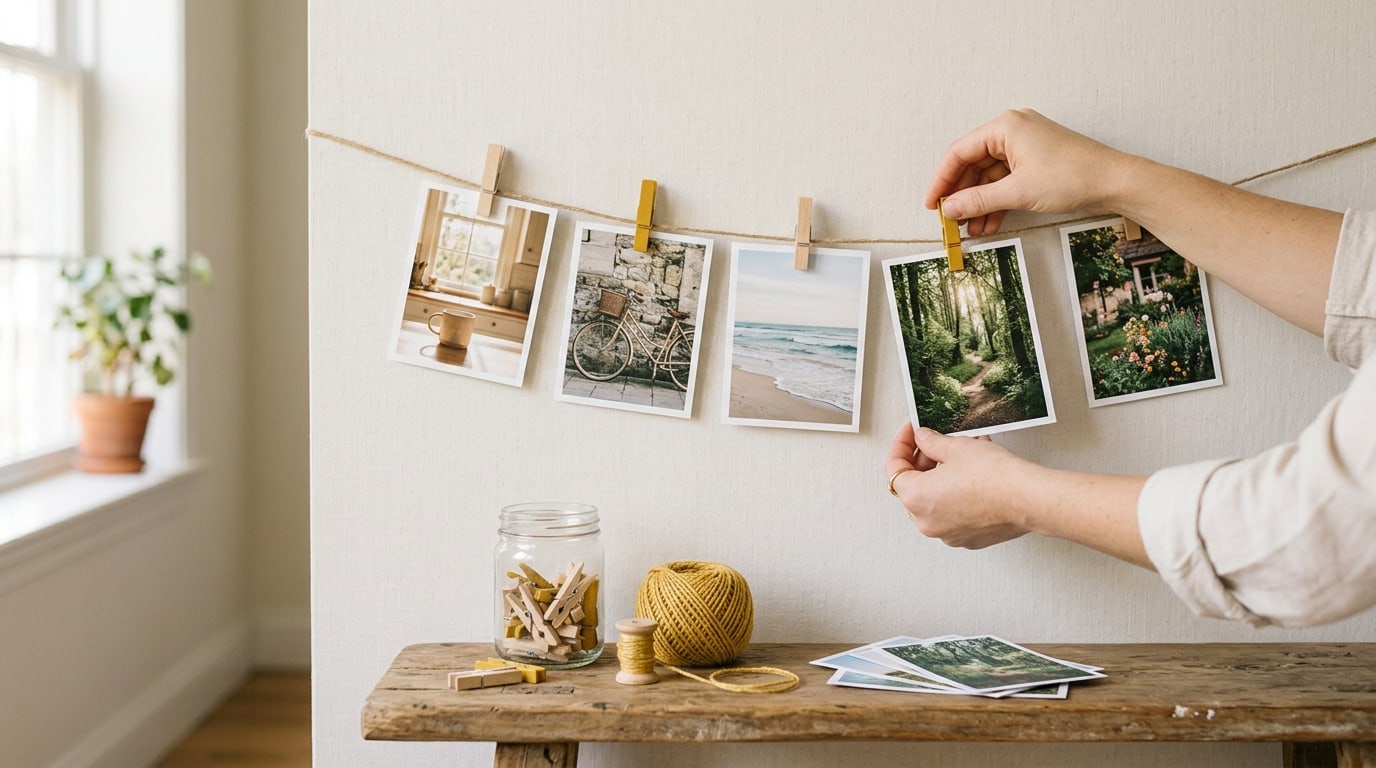
There is something lovely about a board you made with your own hands. These DIY vision board ideas use simple materials you probably already have, and each one takes an afternoon at most. If you are skipping magazines too, my guide on how to make a vision board without magazines covers where to find images.
What are the best DIY vision board ideas?
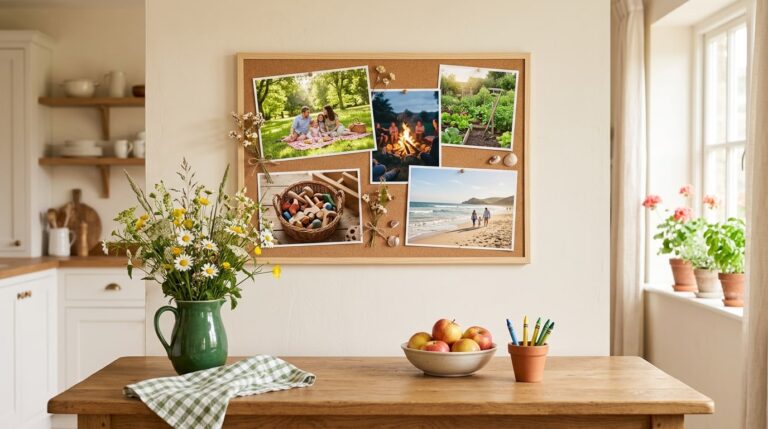
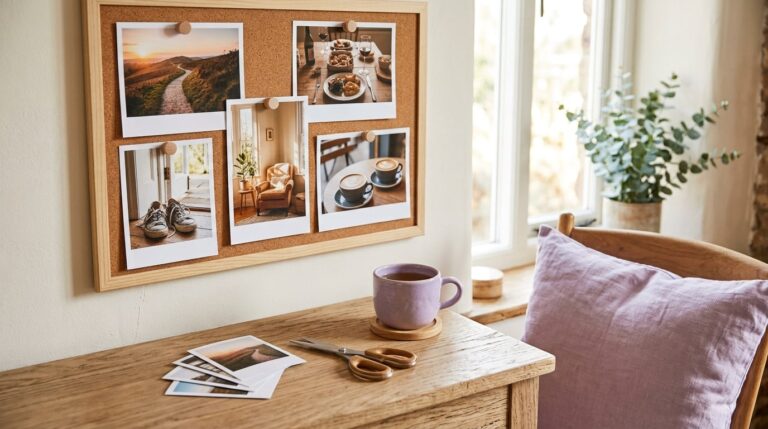
1. A classic cork board
Easy to pin, easy to change. Paint the frame to match your room, or cover the cork with linen for a softer look.
2. A picture frame board
Take the glass out of a large frame, back it with card or fabric, and pin or tape images inside. It looks finished and intentional, perfect for a living room.
3. Photos on string with pegs
Stretch twine between two hooks and peg your images along it. Add a second line for a longer board. Swapping images takes seconds.
4. A clipboard board
Small, portable and neat. Clip a sheet of goals and images to a wooden clipboard and hang it on a nail, or keep it on your desk.
5. A shoebox board
Cover a shoebox lid in paper or fabric and use it as a mini board. Keep keepsakes and notes for each goal inside the box.
6. A fabric-covered board
Wrap a sheet of foam board or cork in linen or a pretty cotton, staple it at the back, and criss-cross ribbons over the front to tuck photos into.
7. A magnetic board
A metal sheet, a baking tray or a fridge door with small magnets. Great for kitchens and for goals you want to move around.
8. A wooden hanger board
Clip prints to a wooden trouser hanger and hang it from a hook. It is quick, cheap to make and looks lovely in a hallway.
How do you choose a DIY format?
Think about where it will go and how often you will change it. A string board or cork board suits goals that change a lot. A frame board suits a calmer, more permanent board. A clipboard or shoebox board suits small spaces. The do it yourself spirit is about using what you have, so start there.

What materials do you need for DIY boards?
Most boards need a base (cork, card, a frame, a tray), a way to attach images (pins, pegs, tape, magnets, ribbon), printed images and a pen. A glue gun, twine, fabric and paint are optional extras. Almost everything can be found at home or borrowed.
What does a finished DIY board look like?
Here is one made from an old frame and a linen tea towel. The glass came out, the tea towel was stretched over the backing board, and three ribbons ran corner to corner. Tucked under the ribbons: a photo of a coastal path, a seed packet for a vegetable bed, a ticket stub from a concert, a postcard of a city to visit and a recipe card for a new dish to learn. Under each, a small tag with a month and a first step. It took an afternoon and cost nothing.
Can you make a DIY board with others?
Yes, and it is a lovely group activity. Everyone brings one old frame or clipboard, you share a pile of materials, and each person makes their own. It is cosy, creative and far more personal than buying a kit, and everyone goes home with something they made.
How do you make a DIY board look finished?
Limit your palette to two or three colours. Line images up along a grid, even a loose one. Leave space around each photo. Use one type of fastener throughout. And write captions in the same pen, so the board looks deliberate rather than thrown together.
What goes on a DIY board besides photos?
Ticket stubs, postcards, pressed flowers, a fabric swatch, a recipe card, a note from a friend. Keepsakes make a handmade board feel personal. For more hands-on ideas, see my creative vision board ideas and my vision board collage ideas.
How do you keep a DIY board working?
Add a goal and a date under every image, look at it daily and change it as goals move. Handmade boards are easy to update, which is one of their best features. A habit tracker for your vision board pairs nicely with any DIY board, since it keeps the small daily steps visible too.
Keep reading
Diy vision board ideas: your questions
Good DIY vision board ideas include a cork board, a picture frame with the glass removed, photos hung on string with pegs, a clipboard board, a shoebox board, a fabric-covered board, a magnetic board and prints clipped to a wooden hanger.
A DIY vision board needs a base, such as cork, card, a frame or a tray, plus pins, pegs, tape, magnets or ribbon to attach images. Add printed images and a pen for captions. Most materials can be found at home or borrowed.
Keep a DIY vision board to two or three colours, line images up along a loose grid, leave space around each photo, use one type of fastener throughout and write every caption in the same pen so the board looks deliberate.
Photos on string with pegs are the easiest DIY vision board to make. Stretch twine between two hooks and peg images along it. It takes minutes, needs almost no materials and makes swapping images very quick whenever your goals change or finish.
Yes. Remove the glass from a large picture frame, back it with card or fabric and pin or tape images inside. A frame vision board looks finished and intentional, which makes it a lovely choice for a living room or hallway.
Add keepsakes to a DIY vision board, such as ticket stubs, postcards, pressed flowers, fabric swatches, recipe cards or a note from a friend. Small personal objects make a handmade board feel meaningful and unique to you, and they are lovely to look back on.
Most DIY vision boards take one to three hours: about thirty minutes to prepare the base, an hour to choose and print images and half an hour to arrange them and write captions. String and clipboard boards are the quickest to make.
Keep your vision board alive
A board built in your browser resets when you close the tab. Vision Boardly saves your boards, reminds you as each vision date arrives, and tracks the habits and moods moving you toward them.
Get Vision Boardly Free