How to Create a Vision Board Step by Step
One session, about two hours, ten timed steps. Follow the clock and you will finish with a board on the wall and a first step done.
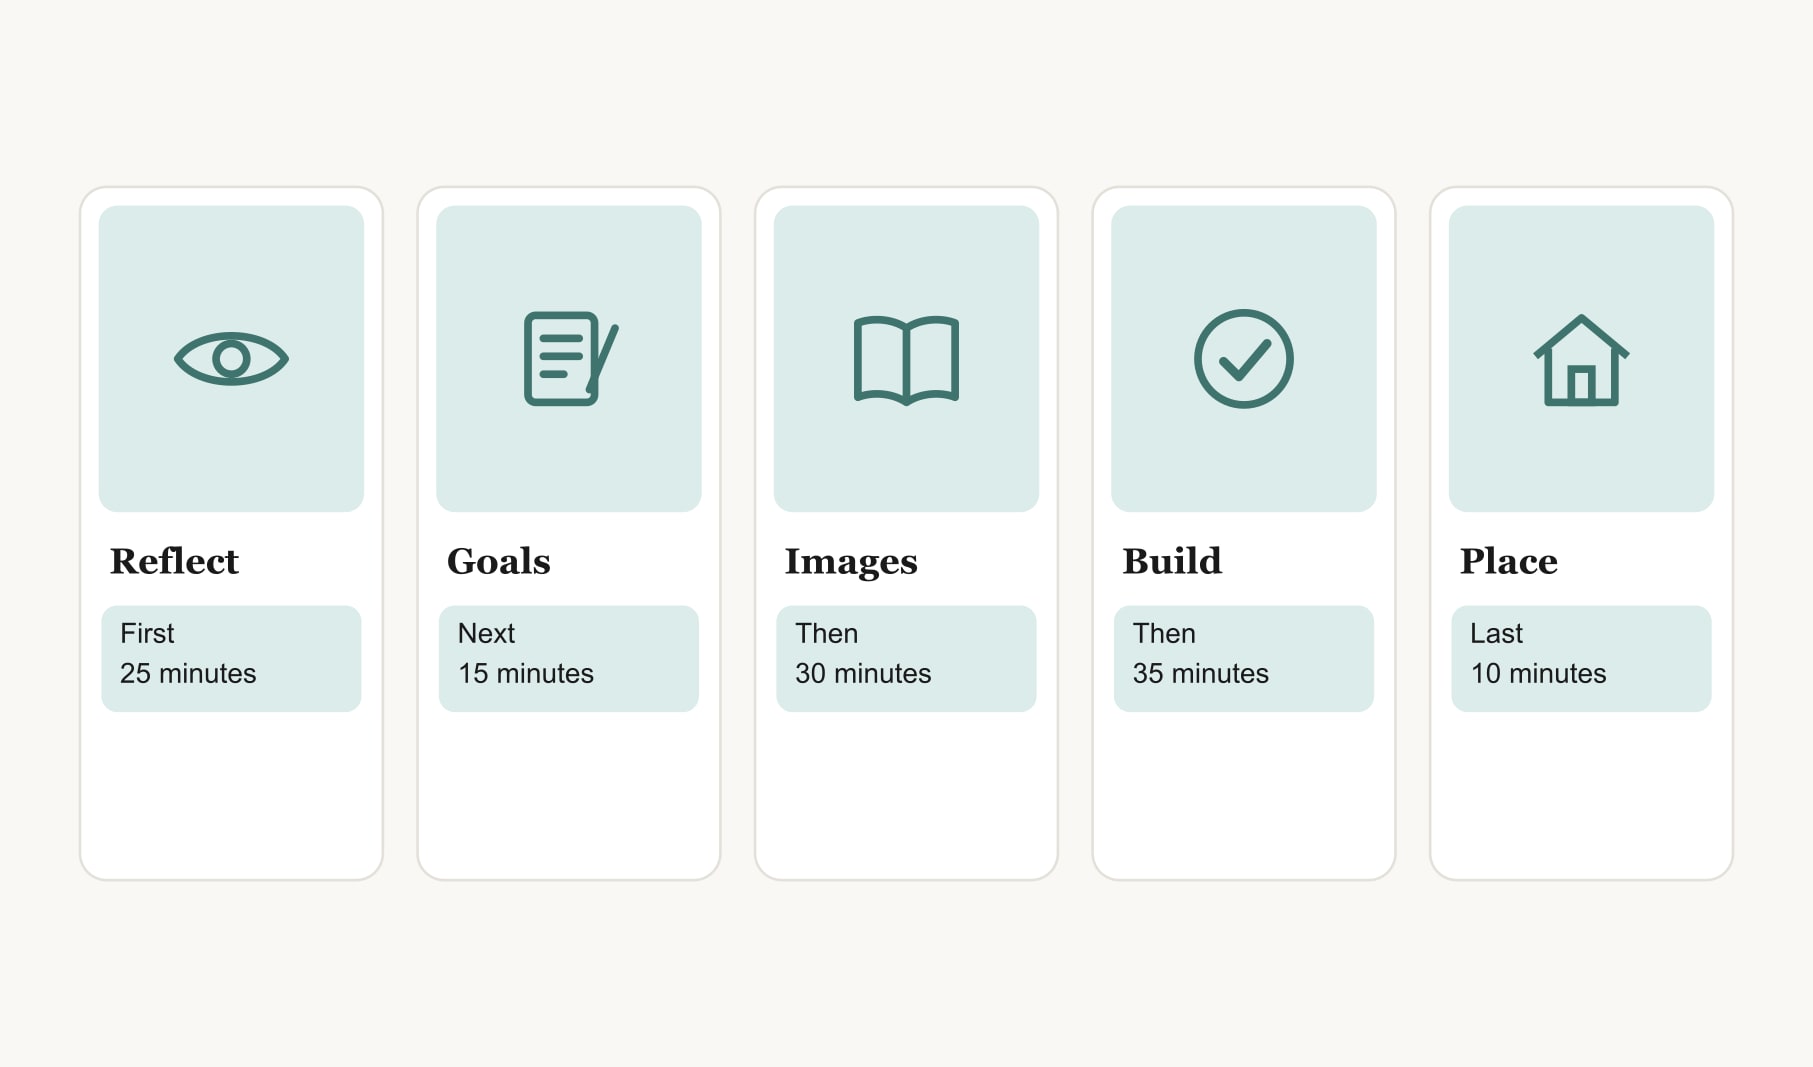
To create a vision board step by step, set aside about two hours. Set up your space, look back on recent months, choose three to five life areas, write one goal each, gather an image per goal, lay them out, fix them down, add captions, dates and first steps, hang the board and book a weekly review.
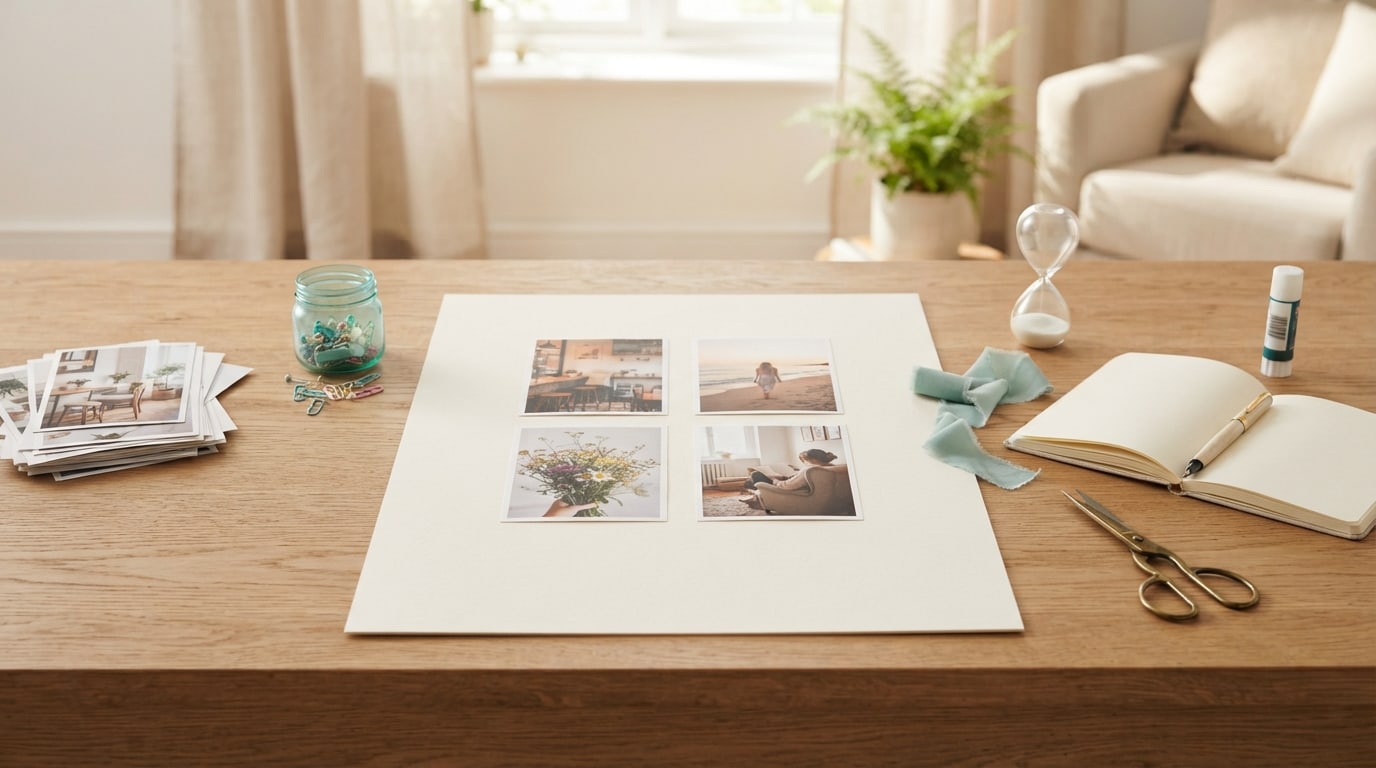
This is a guide on how to create a vision board step by step in a single session, with a time for every step. I have found that a clock helps more than people expect. Without one, the image hunt swallows the whole evening and the board never gets its dates and first steps. With one, you finish in about two hours with a board on the wall and, quite often, a first step already done.
You need a sheet of card, a cork board or a screen; images from your photos, prints or magazines; scissors and glue or pins for paper; and a pen and notebook. That is all.
How to create a vision board step by step: the first hour
Step 1: Set up your space (5 minutes)
Clear a table, lay out your supplies, silence your phone and put on music you like. A tidy start makes the rest feel calm rather than chaotic.
Step 2: Look back (10 minutes)
In your notebook, write three short lists: what went well in recent months, what drained you and what you want more of. Do not edit. This is where your goals come from, and ten honest minutes here saves you from a board full of things you think you should want.
Step 3: Choose three to five life areas (10 minutes)
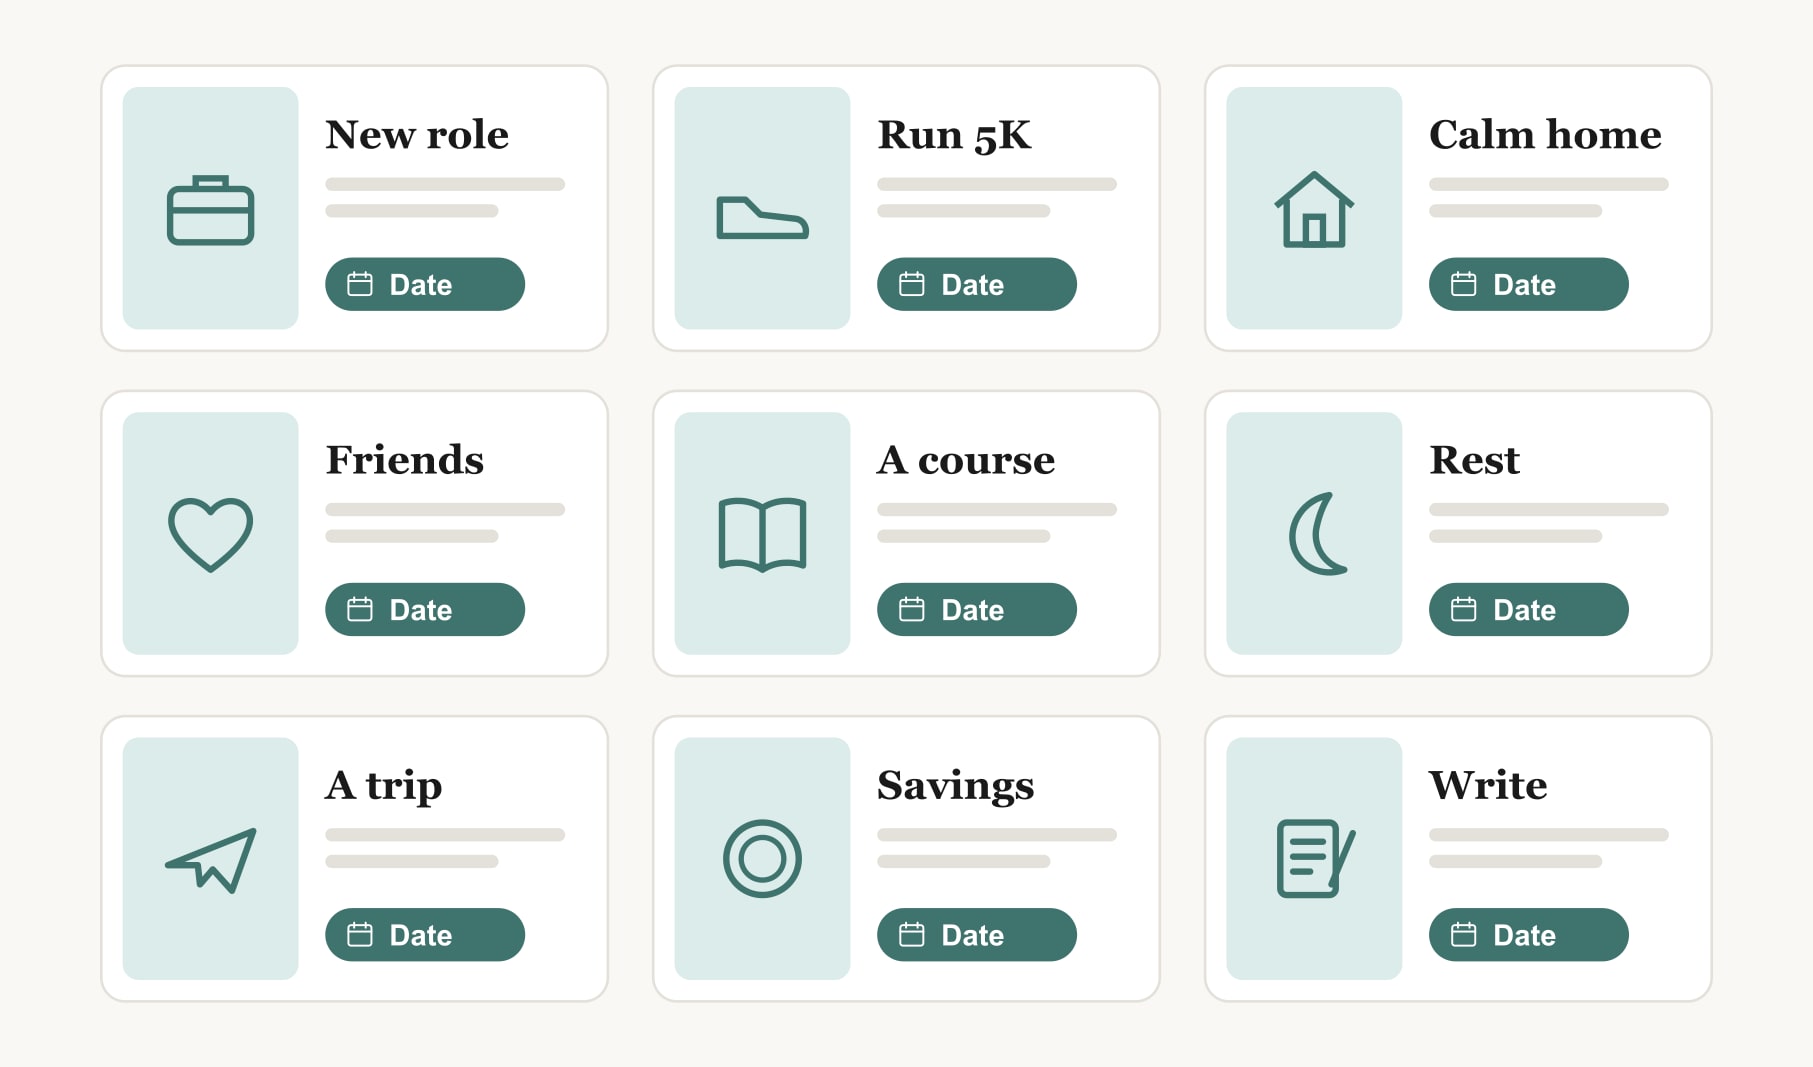
Read your lists and circle the areas that keep coming up: work, health, home, people, money, learning, adventure or rest. Pick three to five. Fewer is fine. If you are torn, choose the areas where a small change would make the biggest difference to how your days feel.
Step 4: Write one goal for each area (15 minutes)
One specific sentence per area, with a finish line you could recognise. Not “be healthier” but “run a 5K by the end of summer.” Not “see friends more” but “host a meal once a month.” This step feels slow, and it is the one that matters most.
Step 5: Gather images (30 minutes)
Now find one image per goal. Your own photos first, then prints and magazines. Choose images that give you a small jolt of “yes, that one.” For inspiration on what can go on a board besides photos, see these things to put on a vision board. When the thirty minutes are up, stop, even if a goal still needs a better picture. You can swap it later.
What happens in the second hour?
Step 6: Lay everything out before fixing it (10 minutes)
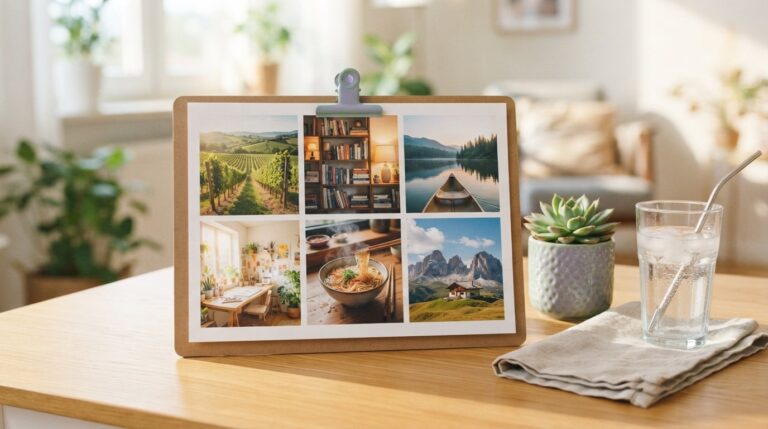
Arrange the images loosely on your card or screen. Give each goal its own clear space, and leave some white space around them. A simple grid, one vision per square, is the easiest layout to read at a glance. Move things around until it looks calm.
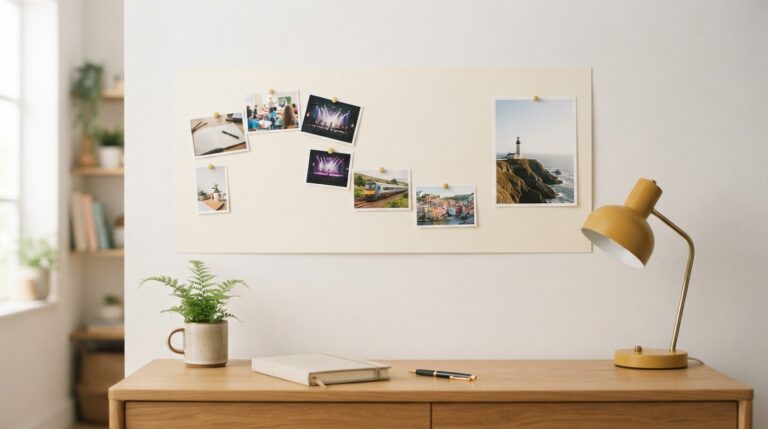
Step 7: Fix the images down (10 minutes)
Glue or pin each image into place, or save the layout on screen. If you would rather build digitally, you can create a vision board in your browser and fill each square with one click.
Step 8: Add captions, dates and first steps (15 minutes)
Under every image, write three things: a short caption, a target date and one first step you could take this week. “Run a 5K. End of summer. First step: a ten minute jog on Saturday.” This is what turns a pretty collage into a plan, so give it the full fifteen minutes.
Step 9: Choose the spot and hang it (5 minutes)
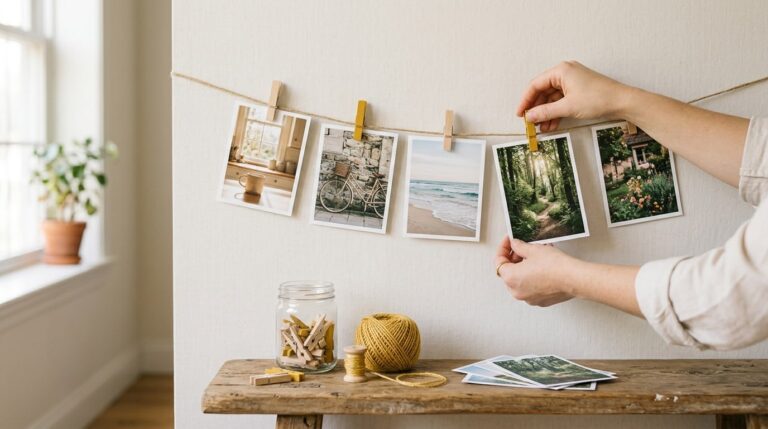
Put the board where you will see it every day without trying: beside the kettle, above your desk or near the front door. Then take a photo of it for your phone, so it comes with you.
Step 10: Book your first weekly review (5 minutes)
Add a recurring five minute review to your calendar, perhaps on Sunday evenings. In each review, tick the steps you took and write the next ones. A goal tracker for your vision board keeps that quick. If you have a minute left, take one first step right now. Finishing the session with a step done is a lovely way to begin.
What if you run out of time?
Split the session in two. Do steps one to four in one sitting, which gives you your goals, and steps five to ten in another. The only rule: never skip step eight. A board without dates and first steps is the most common reason boards stop working.
What if you are stuck for goals?
Go back to your step two lists and look for the thing you wrote twice. If you are still stuck, browse a few vision board ideas by life area and notice which ones make you lean in. Choose one per area and move on. A good board made tonight beats a perfect board that never happens.
Can you do the session with someone else?
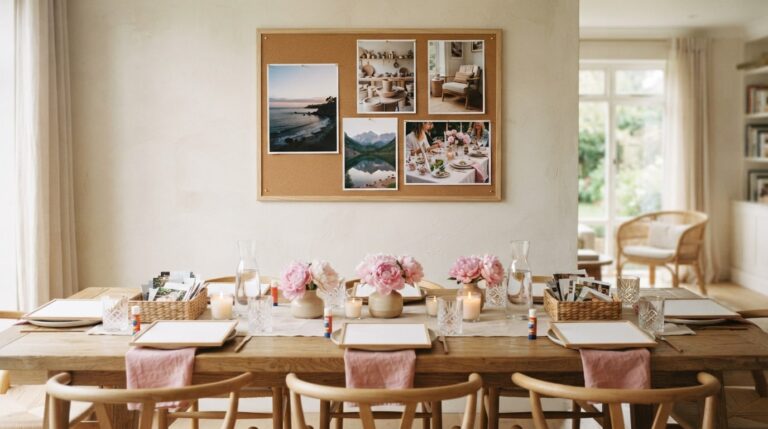
Yes, and it can make the two hours fly. Sit across the table from a friend, partner or family member, each making your own board, and keep the same timings for both of you. Read your step two lists aloud if you both feel comfortable, because saying a goal out loud often sharpens it. At the end, show each other your boards and your first steps. A little friendly accountability goes a long way in the first week.
What should you do the day after?
Look at the board once in the morning and take one first step during the day, however small. That single action connects the session to your real life, and it makes the second step far easier.
Keep reading
How to create a vision board step by step: your questions
Set aside about two hours. Set up your space, look back on recent months, choose three to five life areas, write one goal each, gather an image per goal, lay them out, fix them down, add captions, dates and first steps, hang the vision board and book a weekly review.
Creating a vision board takes about two hours in one session: around twenty five minutes to reflect and choose areas, fifteen to write goals, thirty to gather images and the rest to build, caption and place it. You can split it into two sittings if you prefer.
Adding a caption, a target date and a first step under every image matters most. It turns a collage into a plan you can act on. If time runs short, shorten the image hunt instead, because a vision board without dates and steps rarely keeps working.
Before creating a vision board, spend ten minutes writing what went well recently, what drained you and what you want more of. These short lists reveal the life areas and goals that genuinely matter, so your board reflects you rather than what you think you should want.
Yes. Do the reflection, life areas and goal writing in one sitting, then gather images, build, caption and hang the vision board in a second. The one rule is never to skip adding dates and first steps, since they are what keep a board useful.
Yes. Make your own vision boards side by side, keeping the same timings for each step, and share your reflection lists if you both feel comfortable. Showing each other your finished boards and first steps adds a little friendly accountability for the first week.
Look at your new vision board once in the morning and take one first step during the day, however small it is. That single action connects the session to your everyday life, proves the plan is real and makes the next step much easier to take.
Keep your vision board alive
A board built in your browser resets when you close the tab. Vision Boardly saves your boards, reminds you as each vision date arrives, and tracks the habits and moods moving you toward them.
Get Vision Boardly Free