How to Create a Vision Board Book
A book gives every goal its own page and room for the story of how it happened. Here is how to make one.
To create a vision board book, choose a sketchbook or binder, plan three to six sections by life area and make a cover spread with your word for the year. Give each goal its own spread with an image, why it matters, a date and a first step, then add progress pages and review the book weekly.
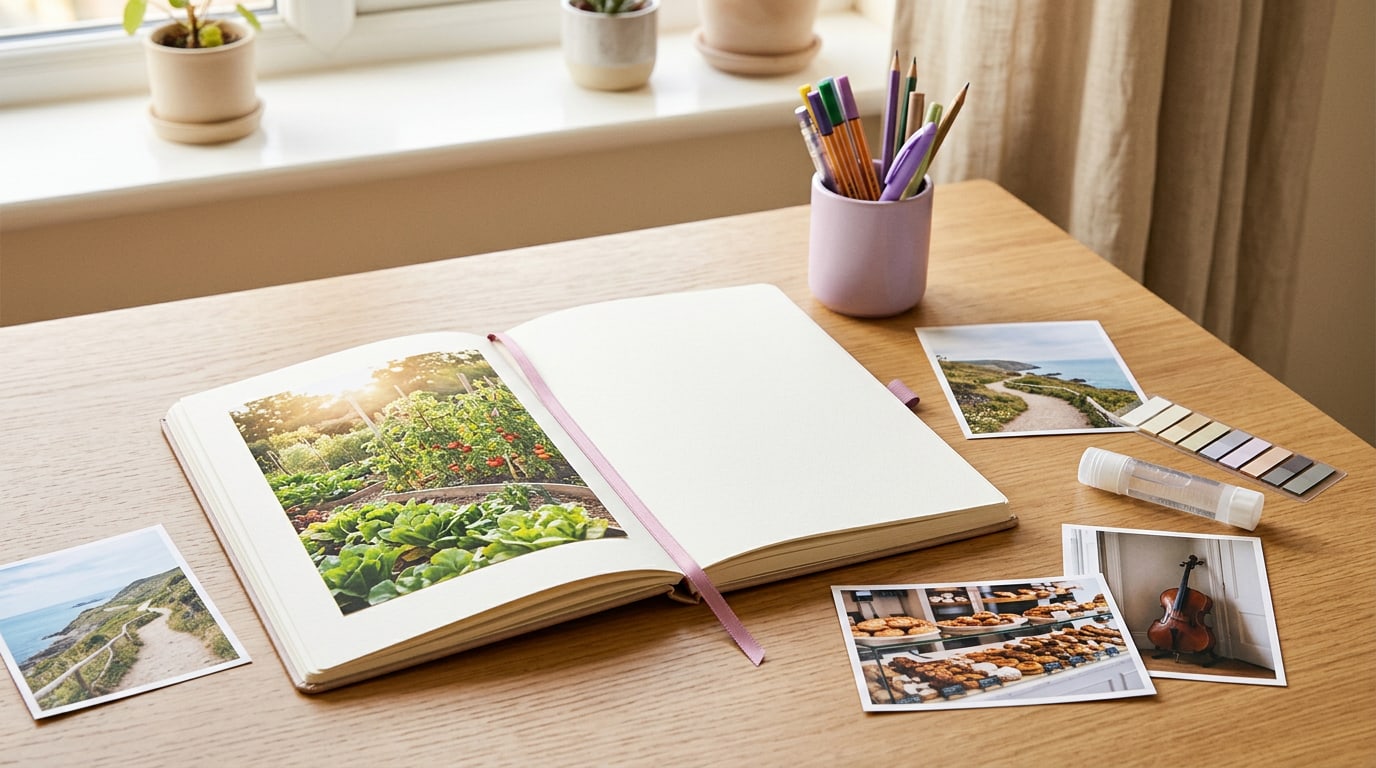
A wall board shows you everything at once. A book lets you slow down. Each goal gets its own pages, with room for the reasons behind it and, later, the story of how it happened. If you have been wondering how to create a vision board book, this guide walks you through the order I use, from choosing the book to the weekly flip-through that keeps it alive. Set aside an afternoon for the first version.
What do you need for how to create a vision board book?
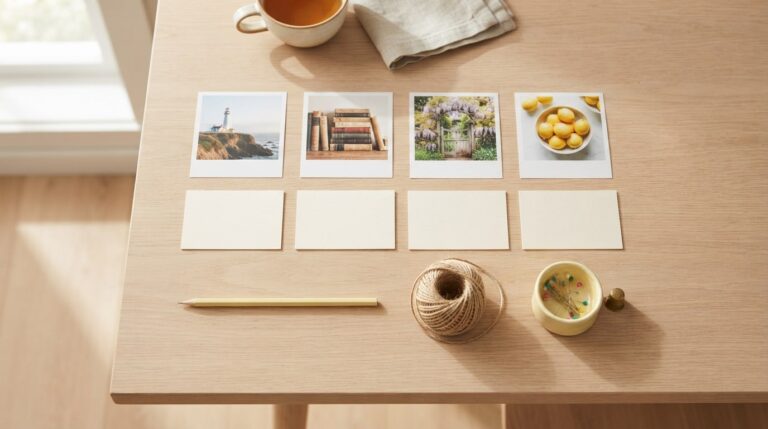
A book with thick pages that lie flat: a sketchbook, a scrapbook or a ring binder. Binders are handy because you can add and remove pages. You will also need images, glue or photo corners, a pen, a few coloured pens and some small sticky tabs. For images, your own printed photos are best, and a set of vision board printables fills in words and shapes for the gaps.
How do you create a vision board book, step by step?
1. Choose your book
Pick a size you will happily carry or keep by your bed. A5 is lovely for a book you hold; A4 gives images more room. Thick paper stops glue from wrinkling the pages and pens from showing through.
2. Plan sections by life area
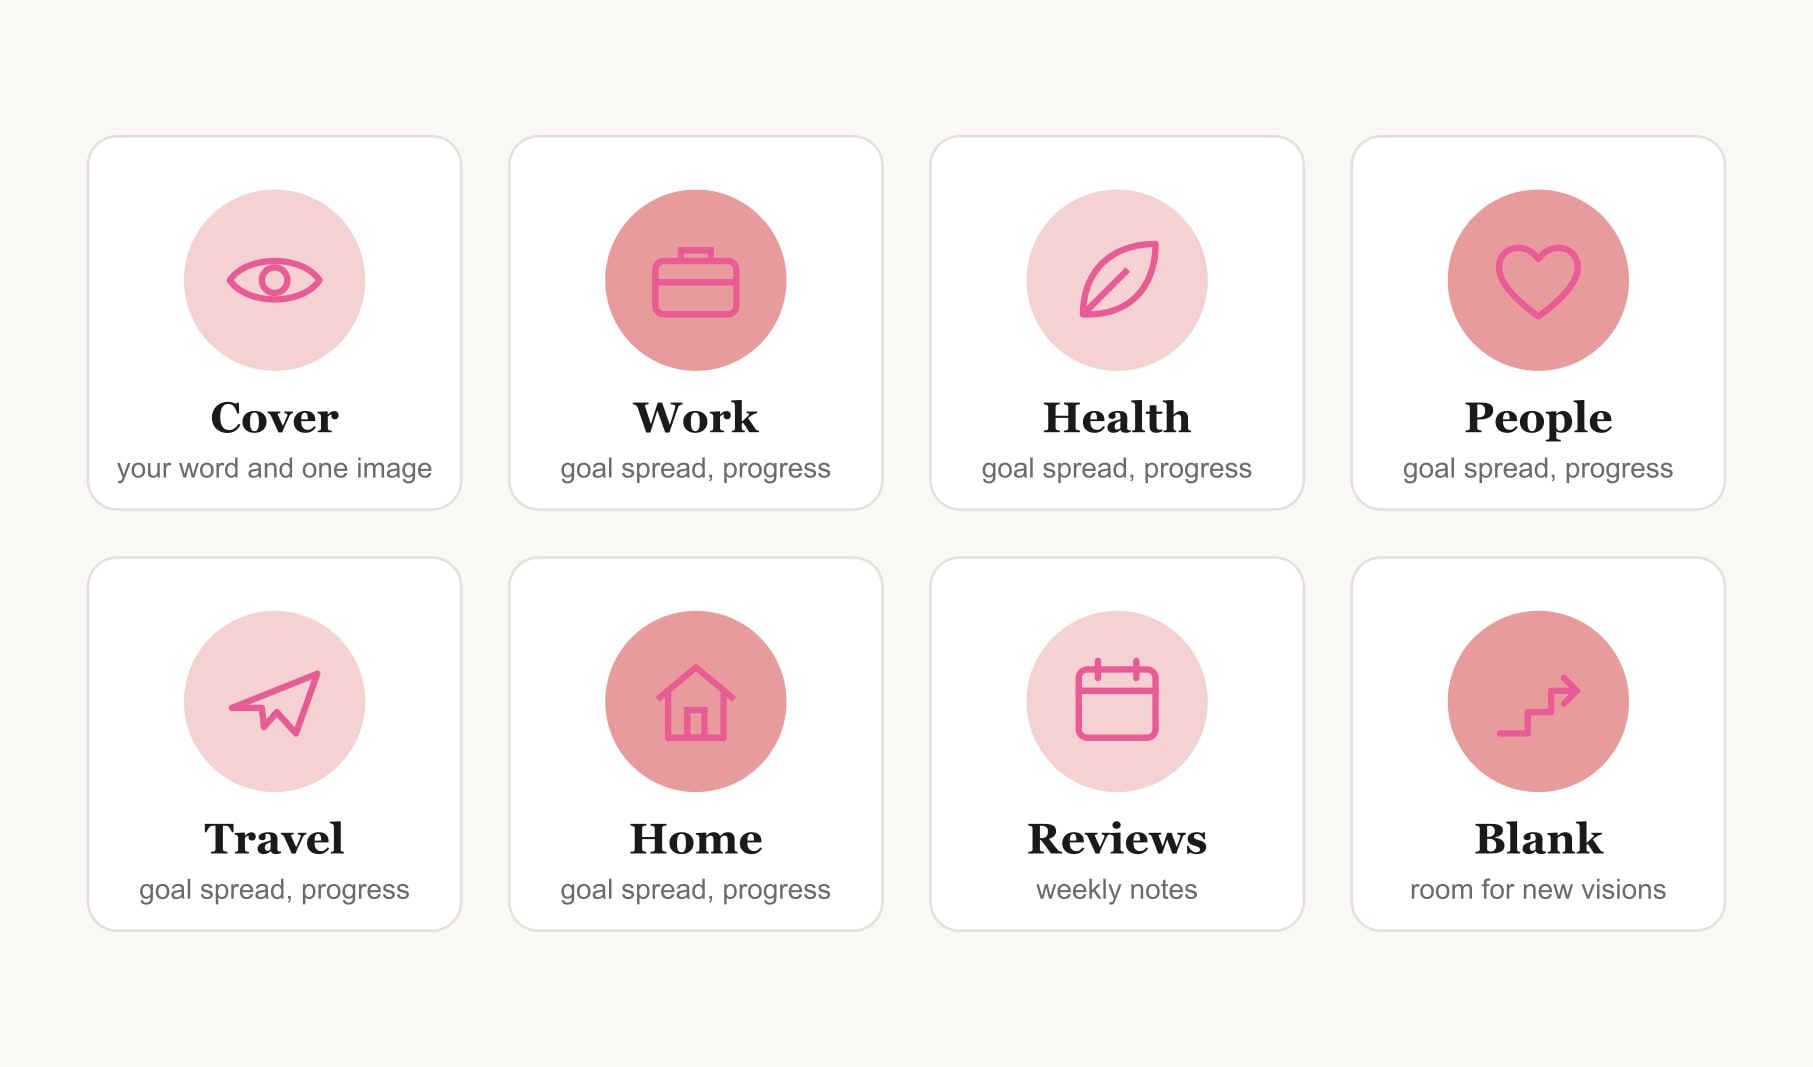
Choose three to six life areas, such as work, health, people, home and travel. Mark a section for each with a sticky tab. Leave the order flexible; you might move sections around once you see the book filling up. If you need a starting list, a personal vision board template shows common areas side by side.
3. Make a cover spread
The first two pages set the tone. Write your word for the year in large letters on the left and place one image on the right that sums up the whole book. Every time you open it, this spread reminds you what the year is about.
4. Give each goal its own spread
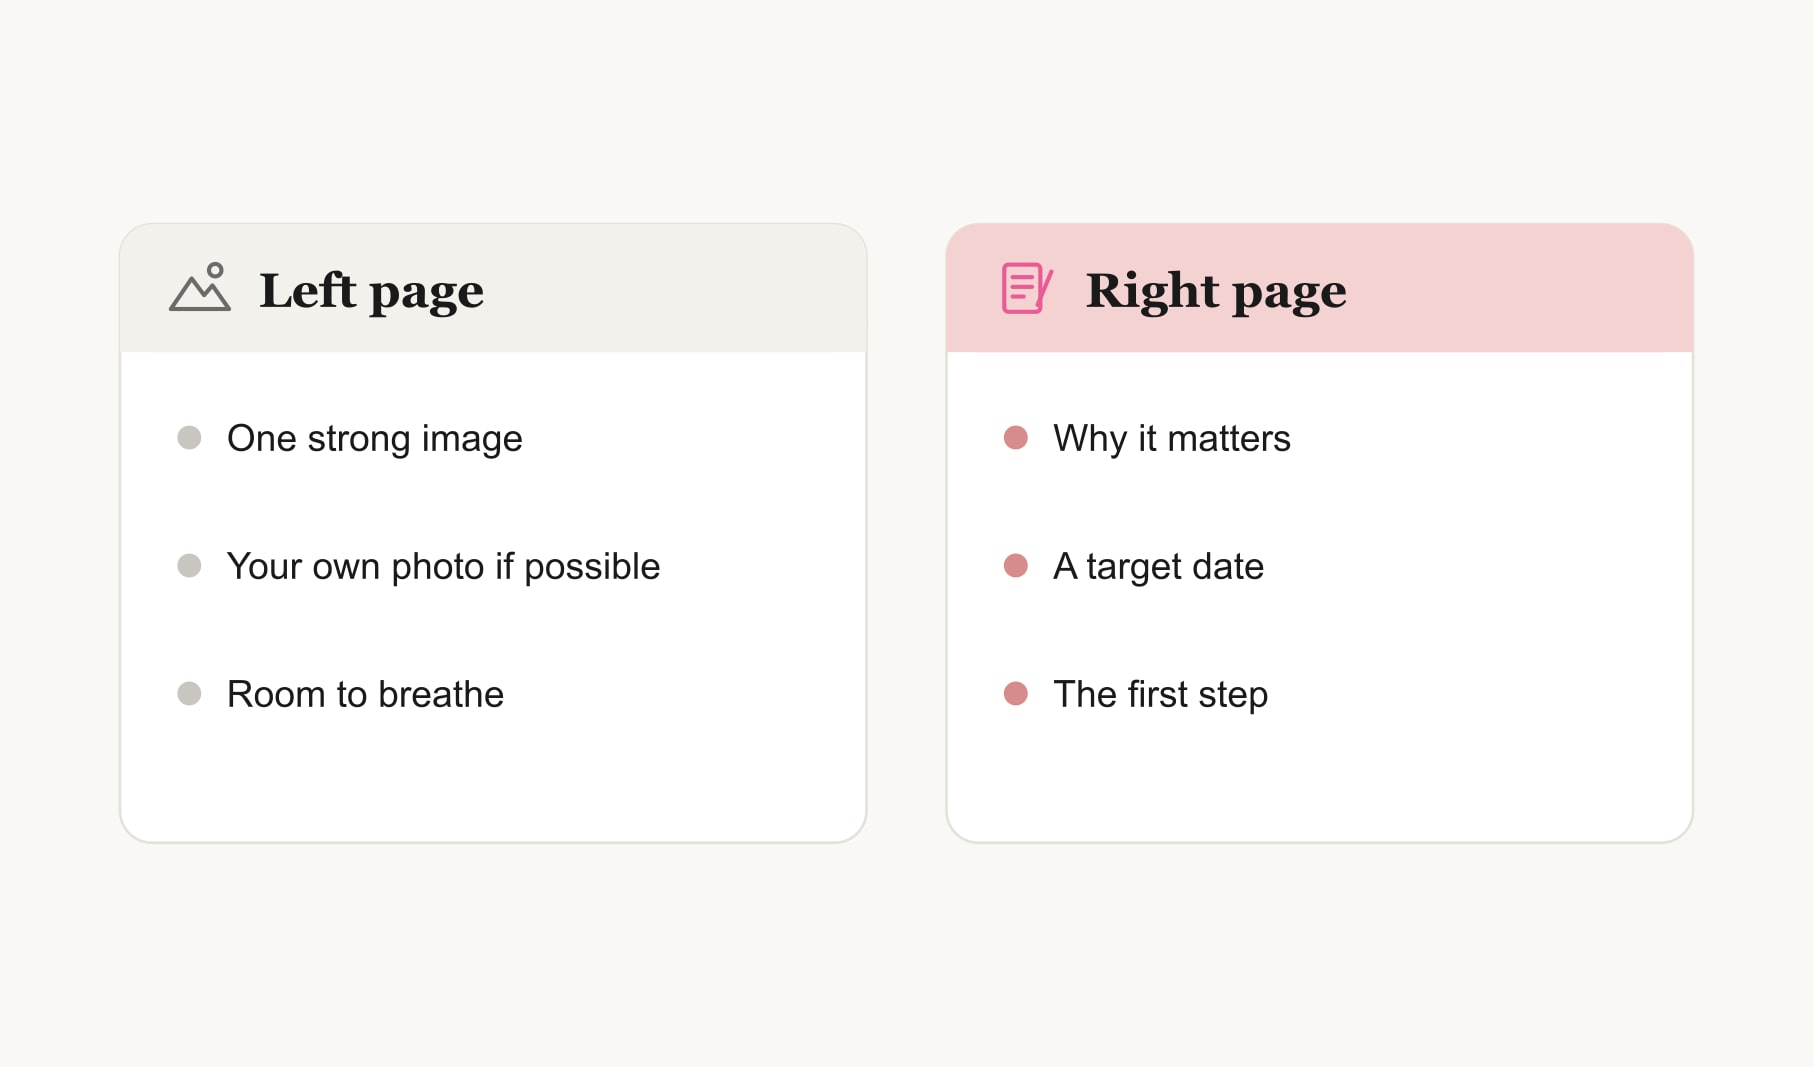
This is the heart of a vision board book. On the left page, place one strong image for the goal. On the right, write three things: why it matters to you, a target date and the very first step. Keep the writing short enough to read in a minute.
5. Add a progress page to each section
After each goal spread, add a page for progress. Draw a simple line of boxes for weekly ticks, or leave it open for notes. Over the months, this page fills with small wins: “booked the course”, “first lesson done”, “practised twice this week”. It quickly becomes the most encouraging page in the book.
6. Leave blank pages for new visions
Keep three or four empty spreads at the back. Goals appear during the year, and a book with no room for them feels finished too soon. Blank pages say there is more to come.
7. Review the book weekly
Once a week, flip through. Tick progress boxes, note what moved and choose the next small step for each goal. Tuck in keepsakes too: a ticket from a trip, a photo of the first loaf you baked, a note from a friend. Writing a few lines in the voice of your future self is a lovely habit here, and a scripting journal template gives you a simple structure for it.
8. Keep the book where you sit each morning
A book on a shelf gets forgotten. Keep yours by the bed, the kettle or your morning chair, wherever you sit for a few quiet minutes. Opening it should feel as easy as picking up your phone.
Book or wall board: which should you make?
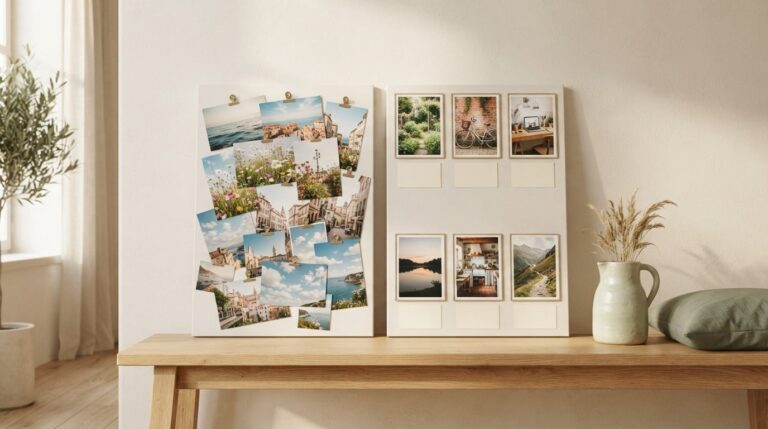
A book suits people who like writing, want privacy or have no wall space they pass daily. A wall board suits people who need to see goals without opening anything. Plenty of people do both: the book for depth, and a small board or lock screen for the daily glance.
What does a finished vision board book look like?
A cover spread with “Grow” in green ink and a photo of a seedling. Five tabbed sections. In the health section, a photo of a lake on the left; on the right, “Swim twice a week. I feel calm in water. By summer. First step: find pool times.” Behind it, a progress page with twelve ticks and a swimming cap ticket taped in. Two blank spreads at the back, waiting.
How do you make the pages look good without art skills?
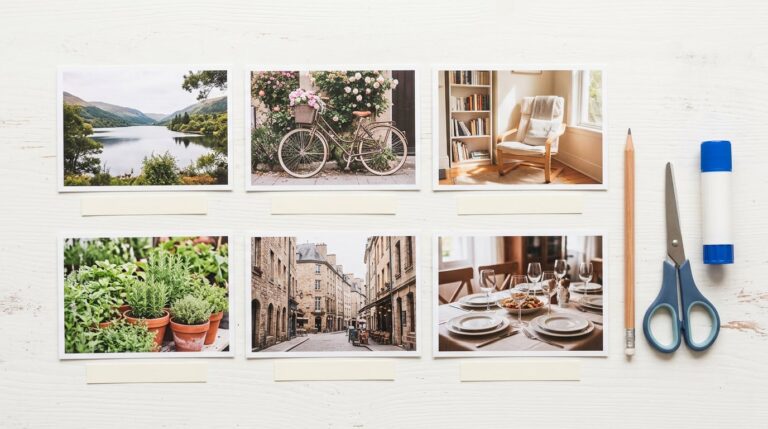
Use a ruler for lines and boxes. Stick to one pen for writing and one colour for accents. Trim photos to the same size before you glue them. Leave margins. That is honestly all it takes for calm, tidy pages. If you love decorating, add washi tape or pressed leaves later, once the words are written. Decoration is a reward, not a requirement.
Can you create a vision board book digitally?
Yes. Some people build the same structure in a vision board app or a document: a cover, one page per goal with an image and the plan, and a progress note under each. Others build digitally first, then print the pages and bind them. Either way, the order of the book stays the same.
How do you keep a vision board book going all year?
Keep the weekly flip-through short, ten minutes at most. Add a keepsake whenever something moves. If a goal no longer fits, cross it out gently and move on; a book can hold change. At the end of the year, the book becomes a record of everything you worked toward, which makes starting the next one easy.
Keep reading
How to create a vision board book: your questions
Choose a sketchbook or binder, plan three to six sections by life area and make a cover spread with your word for the year. Give each goal a spread with an image, why it matters, a date and a first step, then add progress pages and review your vision board book weekly.
A sketchbook, scrapbook or ring binder with thick pages that lie flat suits a vision board book. Thick paper stops glue wrinkling and pens showing through. A binder lets you add pages as new goals appear. Pick a size you will happily keep by your bed.
Each goal in a vision board book gets a spread: one strong image on the left, and on the right a line on why it matters, a target date and the first step. Follow it with a progress page for weekly ticks, notes and small keepsakes.
A vision board book suits people who like writing, want privacy or lack wall space they pass daily. A wall board suits people who need to see goals without opening anything. Many people keep a book for depth and a small board or lock screen for daily glances.
Open your vision board book briefly most mornings and give it a fuller ten minute review once a week. In the weekly review, tick progress, note what moved and choose the next small step for each goal. Short, regular visits work better than long, rare ones.
Besides pictures, a vision board book can hold short notes on why each goal matters, dates and first steps, progress ticks, tickets, pressed leaves, photos of milestones and a few lines written as your future self. Keepsakes turn the book into a record of real progress.
Keep your vision board alive
A board built in your browser resets when you close the tab. Vision Boardly saves your boards, reminds you as each vision date arrives, and tracks the habits and moods moving you toward them.
Get Vision Boardly Free